
Victor here, project manager at Hugo Home Improvement. For 11 years, I’ve hammered posts and hung panels across North Dakota’s windswept fields and Illinois’ orderly suburbs. Homeowners launch fence projects with bold plans but trip on uneven posts or surprise HOA fines. This guide to fence installation walks through building a DIY privacy fence or boundary marker in 8 steps, helping you save time, avoid errors, and craft a sturdy haven for your Schaumburg deck or Bismarck lot.
Define Your Fence’s Purpose
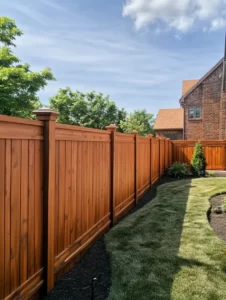
Pinpoint what your fence needs to do. In Illinois, the Millers seek a privacy fence to shield their Naperville patio from neighbors’ eyes. In North Dakota, Mark Olson builds a fence to mark his ranch and protect his yard from animals like deer. Your fence needs—seclusion, safety, or charm—shape the type of fence you want. Local building codes matter. Illinois HOAs cap fence height at 6 feet, with building permits costing $50-$200 in Naperville. North Dakota’s winters demand deep fence posts to resist frost heave, per North Dakota State University’s extension.
Gather Tools and Materials
Time to gather tools and materials for your fence installation project – check out our comprehensive guide that inclusdes bst options for your yard fencing. Costs vary by fence style—wood or vinyl for appeal, chain link for budget.
- Tools: Post-hole digger ($50-$100), level ($10-$30), drill ($50-$150), measuring tape ($5-$15), shovel ($20-$40).
- Materials: 4x4 fence posts (cedar or metal, $10-$20 each), fence panels or pickets (vinyl or wood, $15-$50 per 8-foot section), concrete mix ($5-$10 per 80-pound bag), galvanized screws ($10-$20), gate hardware ($20-$50).
- Total Cost: $500-$2,000 for a 50-foot DIY fence, based on fencing cost and size of your yard.

Tools ready for fence building.
Rent a gas-powered post-hole digger for rocky soil. It speeds digging and ensures deep post holes for a solid new fence.
Expert Tip
Steps to Build Your Fence
Follow these 7 steps to learn how to build a fence that lasts, tailored for Illinois and North Dakota landscapes.
1. Check Permits and Property Lines
Dial 811 to map underground utilities—free and vital to avoid gas line damage. In Illinois, follow association guidelines and secure a building permit; Naperville fines unapproved boundary fences. In North Dakota, check your property lines with a surveyor to prevent disputes over property lines and boundaries.
2. Measure and Mark the Layout
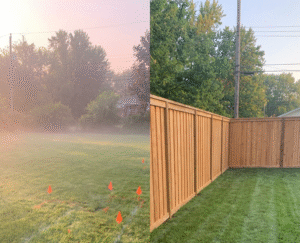
Mark the fence line with stakes and string for your fence plans. Measure the distance twice for a straight fence design. For a 50-foot DIY privacy fence, space fence posts 6-8 feet apart. Align gates with walkways for easy access.
3. Dig the Holes
Carve post holes with a post-hole digger—up to 36 inches deep or to one third the length of the post installed, whichever is greater. Keep holes 8-12 inches wide. For a 50-foot fence, dig 7-9 post holes. Stack soil neatly to spare your lawn.

Deep holes lock in stability.
4. Set Fence Posts
Place 4×4 fence posts in holes, using a level to make sure the post stands plumb. Pour concrete mix, adding water as directed. Let it cure for 24-48 hours. In North Dakota, use frost-proof concrete mix due to its durability against cold.
See Our Work: Hugo Home Improvement builds different fence types that endure. Check our Naperville and Bismarck projects for inspiration. View our portfolio.
5. Attach Fence Rails and Panels
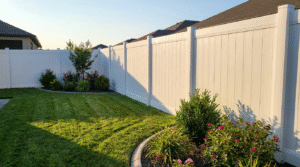
Screw fence rails between posts, starting 6 inches above ground. Use two or three rails for a picket fence or privacy designs. Fasten fence panels or attach pickets to the rails with galvanized screws to resist rust. For vinyl fences, snap panels into place per instructions.
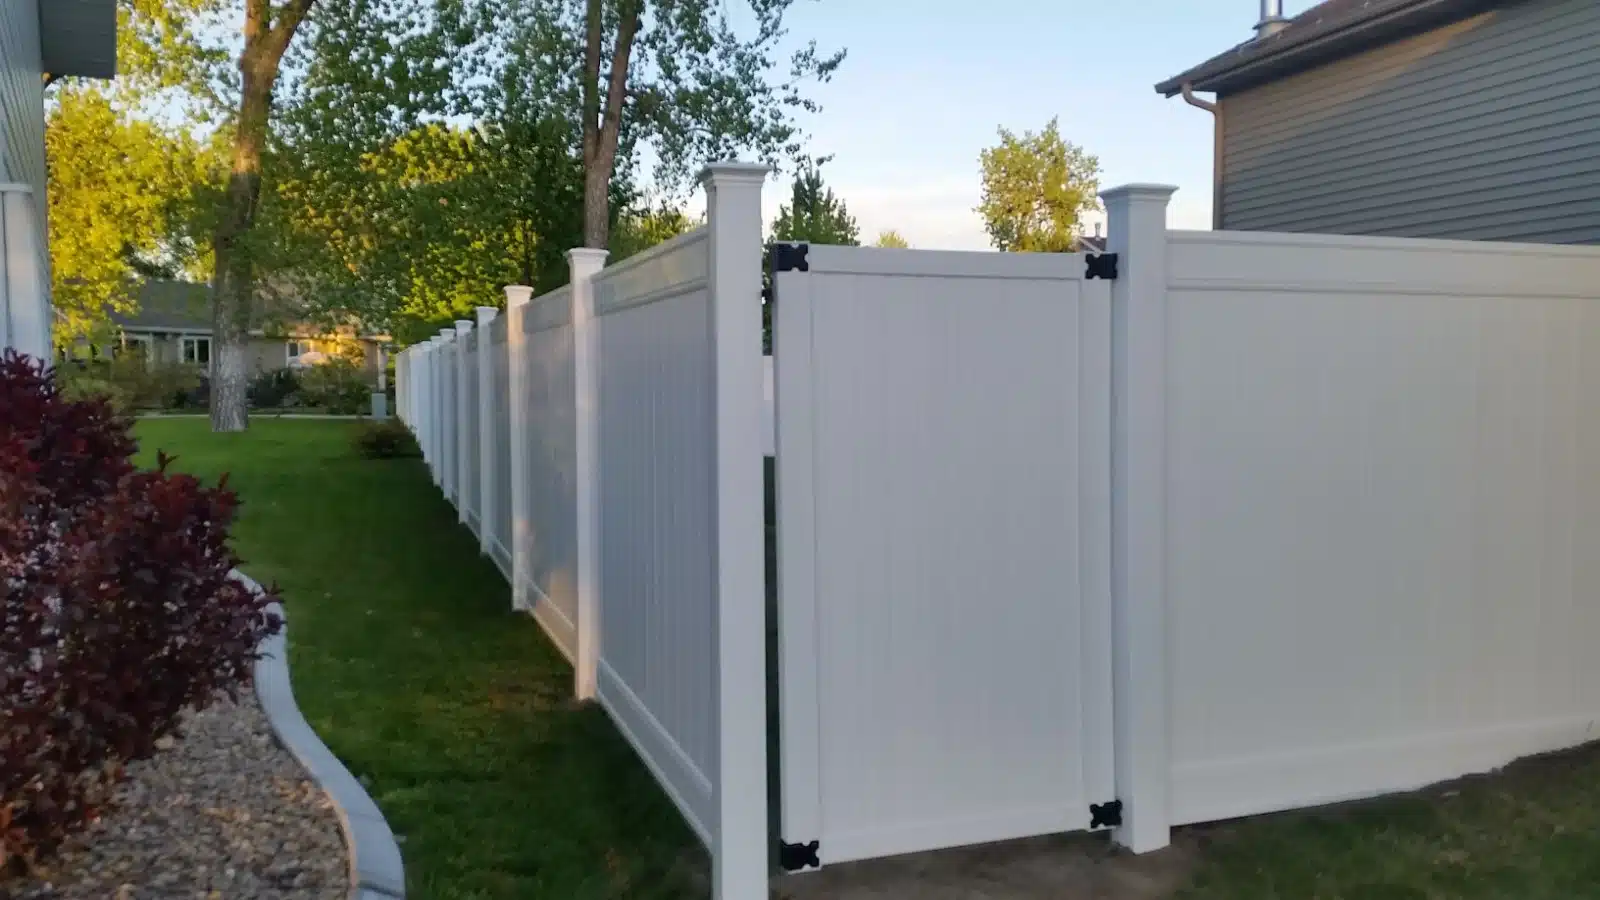
6. Install the Gate
Brace gate posts to support weight. Fix hinges and latches, testing for smooth swings. Ensure locks hold firm, key for Illinois pool fences or North Dakota pet spaces.
7. Seal and Finish
Brush stain or sealant on a wood fence to block rot, especially cedar in Illinois’ humid summers. Vinyl and chain link fences need a rinse. Clip grass along the fence line to stop moisture buildup.

Sealed fences last longer.
Regional Tips and Traps to Avoid
North Dakota’s winters ruin shallow posts—dig 4 feet deep, per NDSU’s extension, or frost heave warps your fence building. In Illinois, ignoring HOA rules triggers costly tear-downs; submit fence plans early. Avoid these errors:
- Uneven posts: Check with a level to make sure posts align before concrete sets.
- Cheap screws: Galvanized ones prevent rust streaks on your new fence project.
- Utility oversights: A gas line hit spikes installation costs by thousands.
In Illinois, photograph your fence line and share with neighbors to settle boundary spats. In North Dakota, add gravel to post holes for drainage against frost, making installation easier.
Expert Tip
Craft Your Ideal Fence
Building a DIY fence transforms your space into a secluded retreat or firm boundary. Plan carefully, pick quality fence materials, and dodge pitfalls like wobbly posts or fence laws violations. Consider a DIY fence installation for savings or hire pros for speed. Browse creative privacy fence ideas or fence material options to find what best suits your needs. Want a pro? Get a free quote at Hugo Home Improvement.
Common Questions Answered
A 50-foot DIY fence project takes 2-4 days, based on soil and weather. Pros finish in 1-2 days.
Naperville requires building permits ($50-$200) and HOA approval for fences over 4 feet.
Dig post holes up to 36inches or 3rd length of the post installed
Vinyl panels snap together fast, but precise post alignment keeps the fence steady.